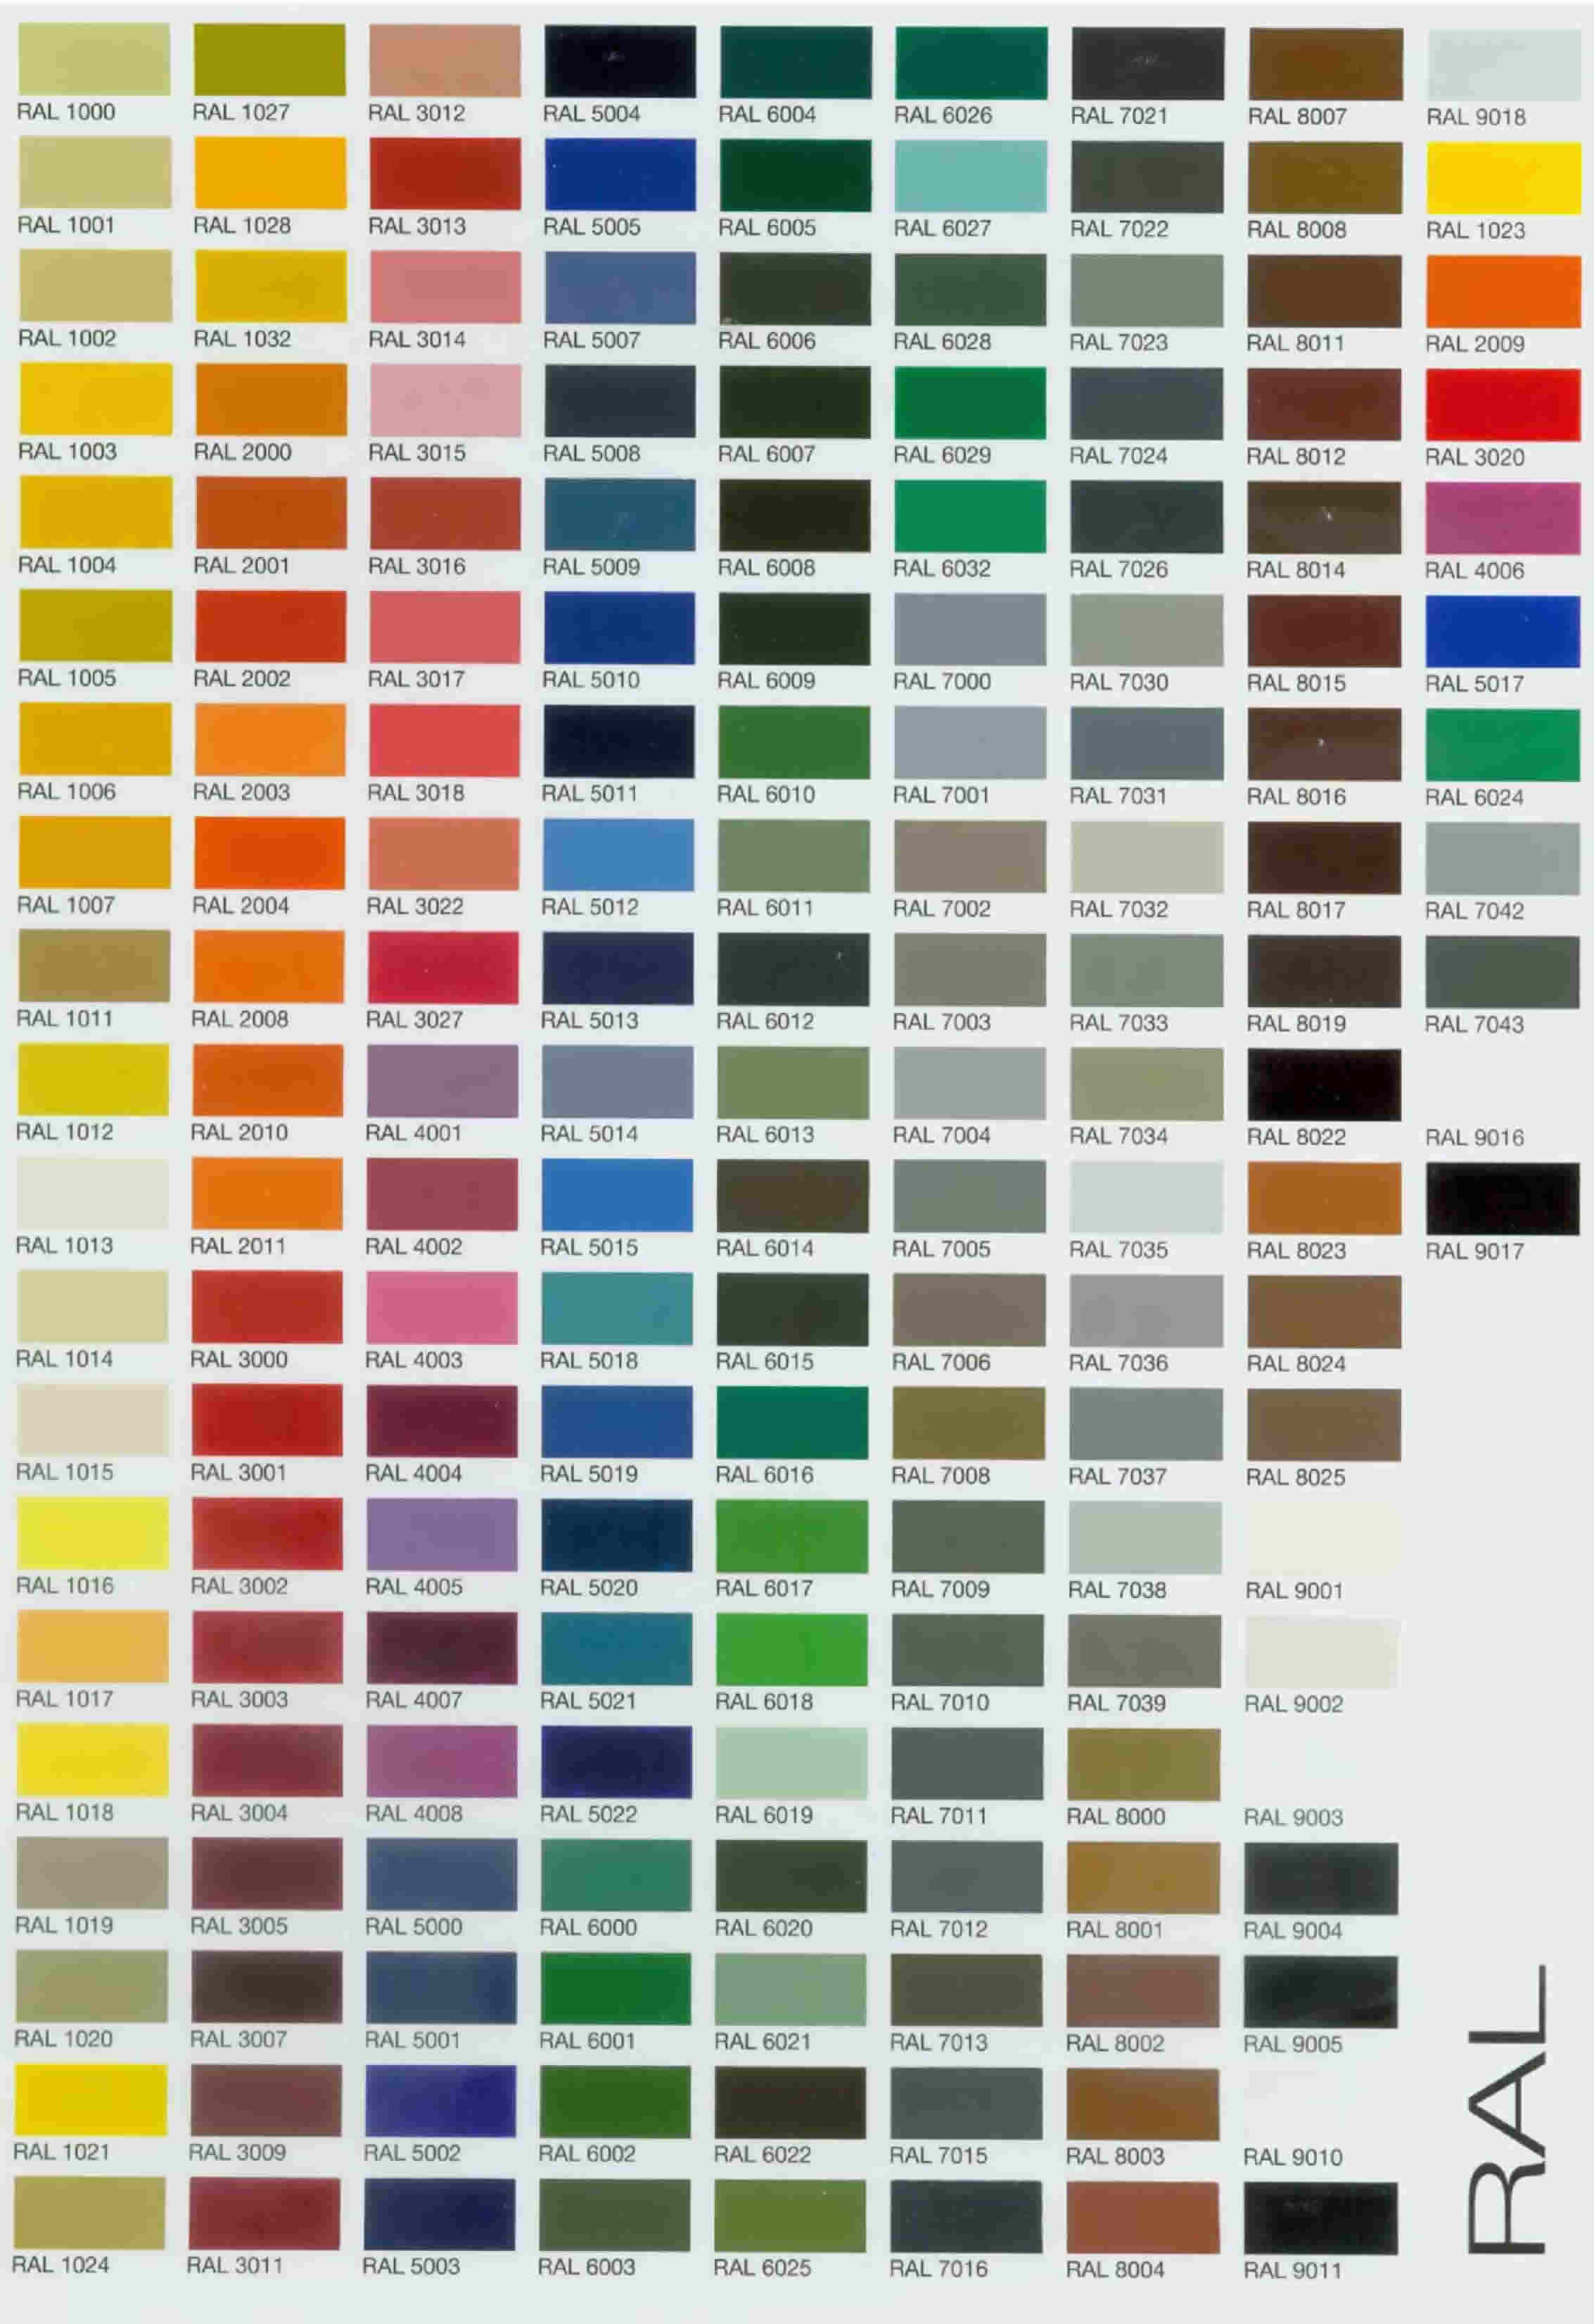
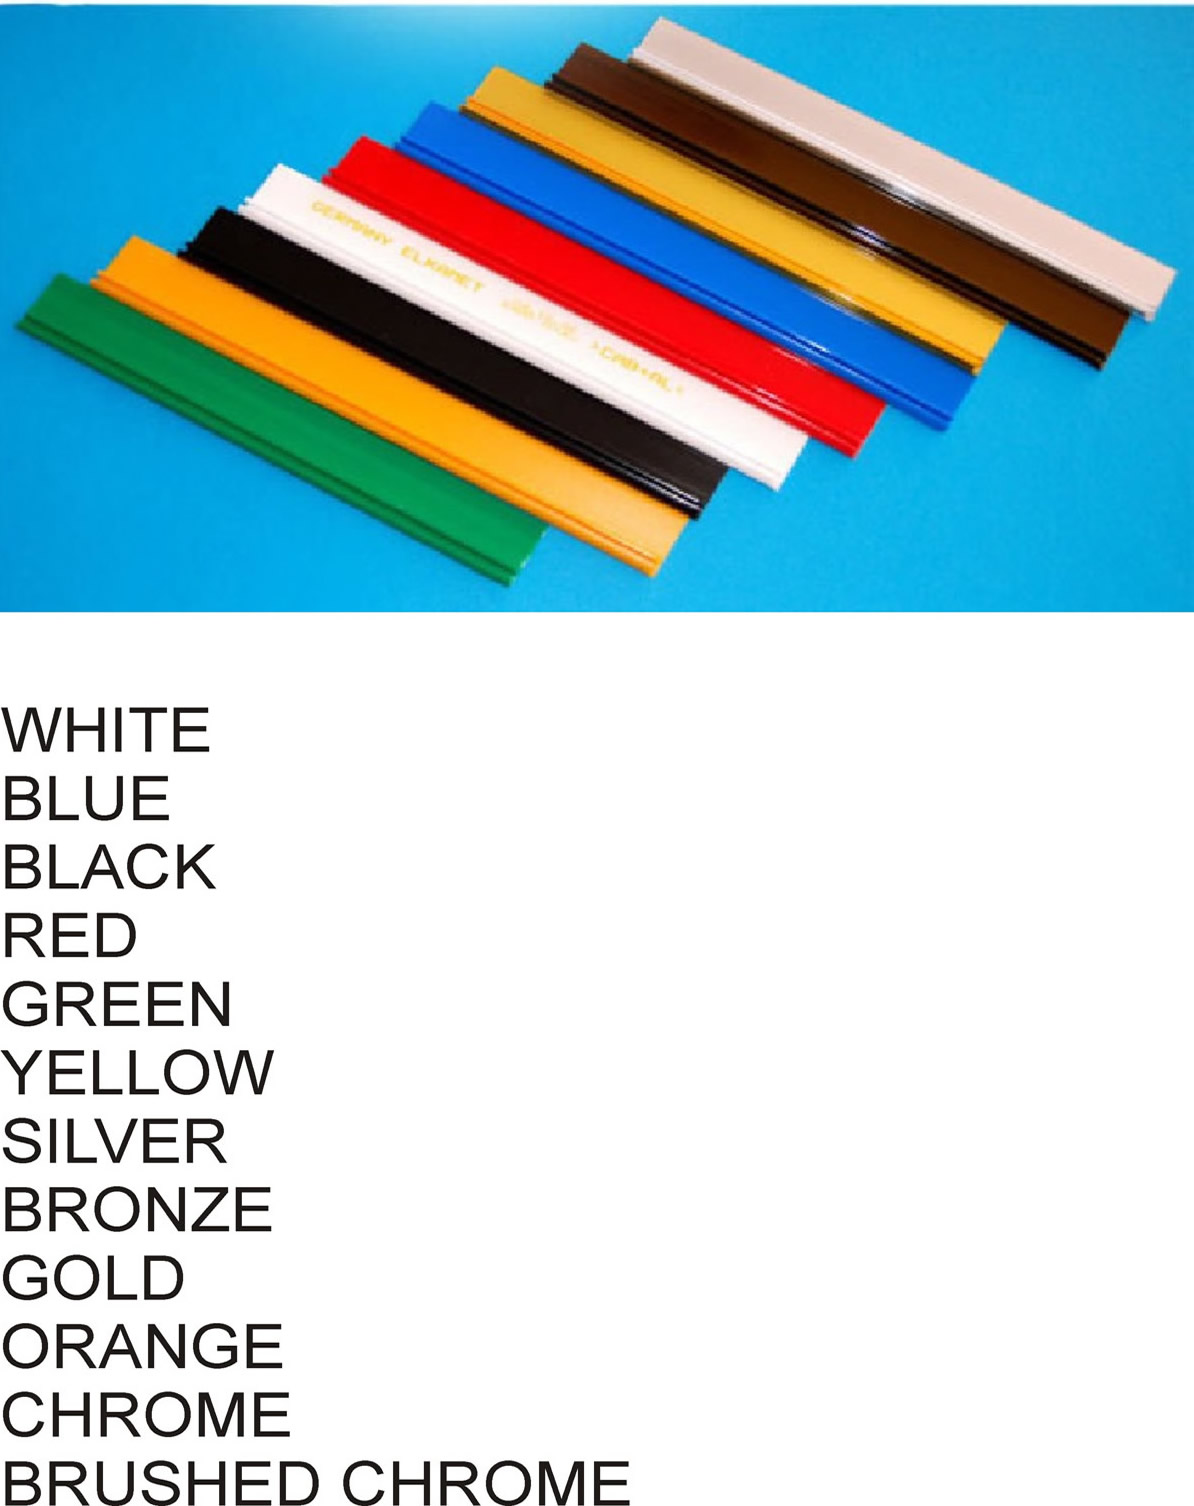
Colors shown are only an approximation of actual acrylic sheet colors.
Letter Visibility Chart
| Viewing Distance | Minimum Required Letter Height |
|---|---|
| 30 m | 10 cm |
| 75 m | 25 cm |
| 110 m (city block) | 40 cm |
| 150 m | 55 cm |
| 225 m | 80 cm |
| 305 m | 110 cm |
|
This letter visibility chart has been made for you based upon information provided by Pennsylvania Transportation Institute, Penn State University and the United States Sign Council (USSC). c1998 Calculations based on externally (or naturally) lit sign with all upper case Helvetica letters utilizing optimal negative space. Factors that may affect required letter size are: color scheme, font selection, traffic and weather conditions, or sign standoff. Please refer to the complete study for additional information. |
|
Installation Method: Wired Spacer Mounting
|
This method is the most popular and secure method available. Installation patterns available and highly recommended for easy install. Simply drill holes, fill with 100% pure silicone and screw the letter in the wall. Wired spacers are randomly placed, patterns are needed for each set of letters ordered. Available for:Metal Sign Letters Channel Sign Letters Flat-Cut Metal Letters |
|
Installation Method: Stud Mounting
|
This method is highly secure. Installation patterns available and highly recommended for easy install. Simply drill holes, fill with 100% pure silicone and slide in letters. Studs are randomly placed, patterns are needed for each set of letters ordered. Available for:Metal Sign Letters Channel Sign Letters Flat-Cut Metal Letters |
|
Installation Method: Stud Mount With Nuts
|
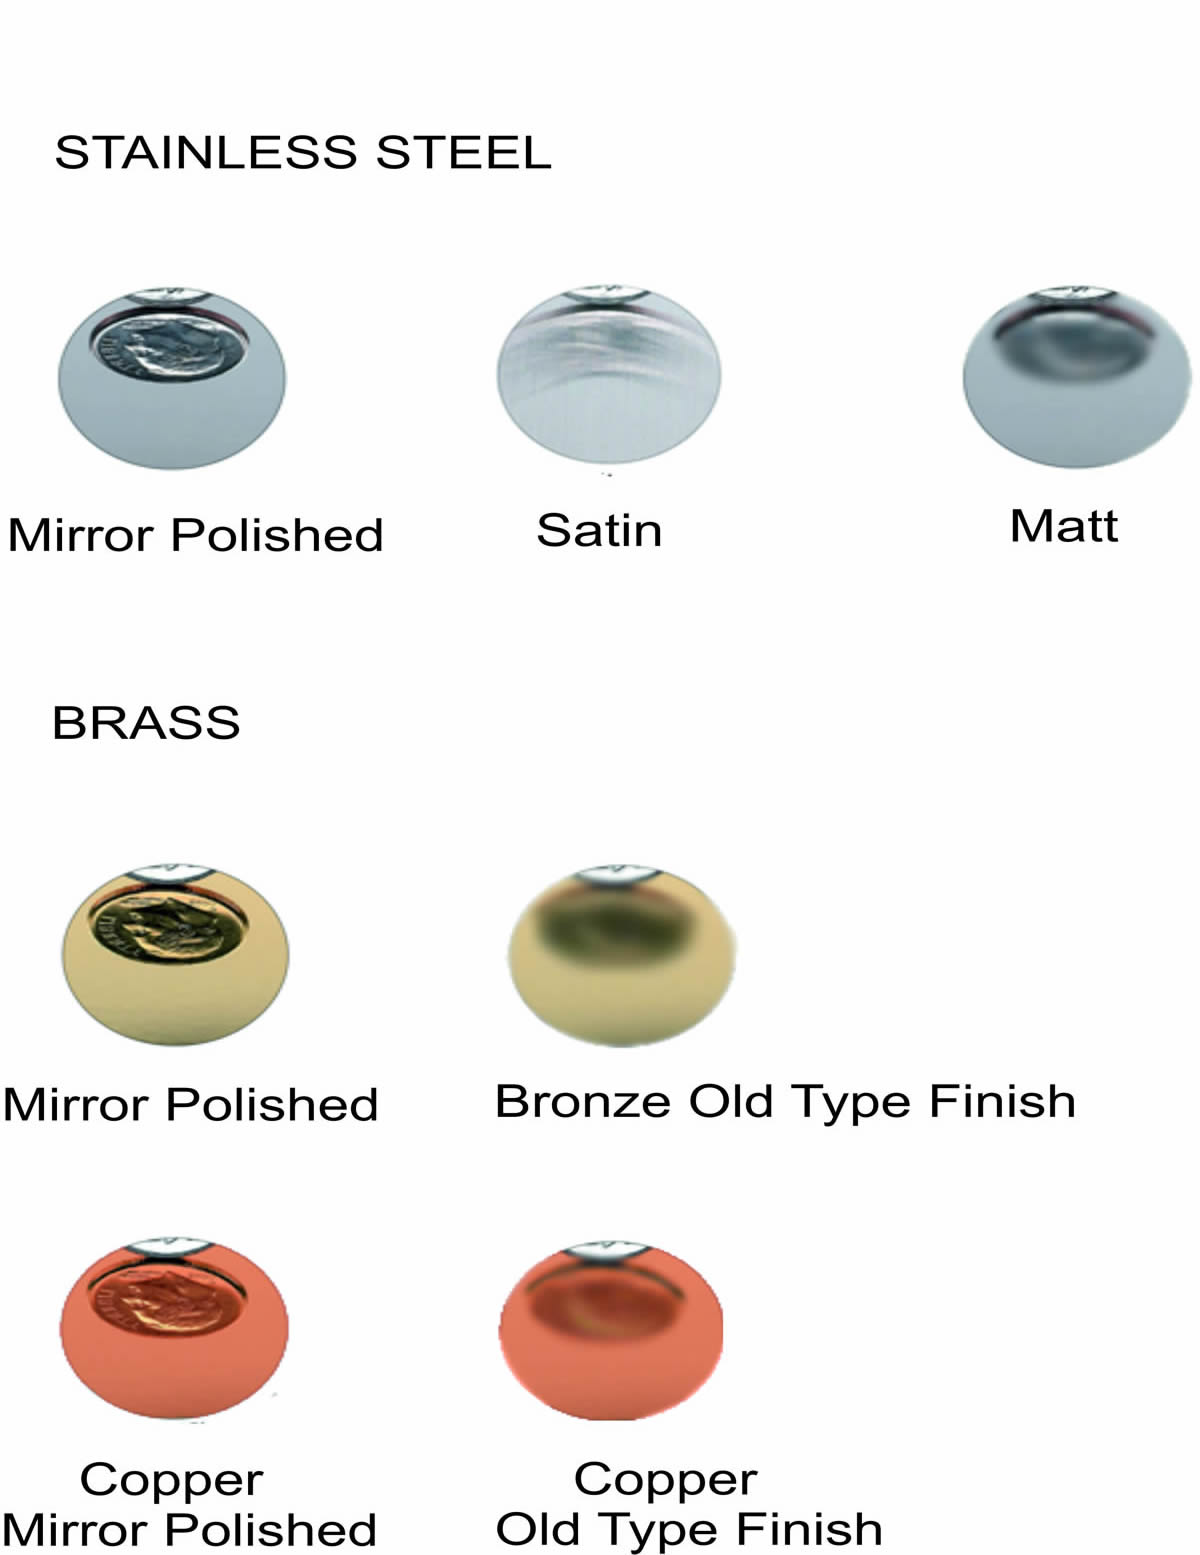
Stud mount with nuts can be used in many ways. If you can access the wall behind the letters you can use the nuts behind the wall to secure the letters. Also, if you have a corrugated balding you can use the nuts on the studs to stand the letters off the wall in the low spots. Use Stud mount with spacers for for flat non corrugated walls. Studs are randomly placed, patterns are needed for each set of letters ordered. Available for:Aluminum Letters Brass Letters Stainless Steel Letters |
|
STUD MOUNT INSTALLATIONS
|
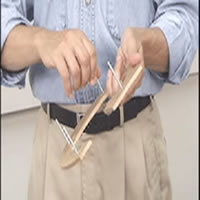
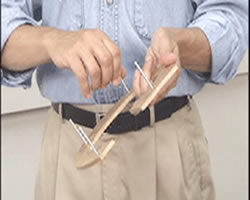
Installation patterns are recommended for stud mount installations and are available from us. (If you have 2 signs you need 2 patterns) Tools Needed:1) Masking Tape 2) Level 3) Drill & Drill Bit 4) Tube of Silicone |
|
|
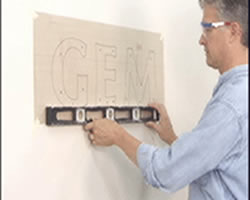
1) Tape one edge of the Installation pattern to the installation surface with masking tape and unroll it. Level the pattern and tape the other edge to the installation surface. |
|
|
2) Punch and drill holes approximately 7 cm deep where indicated on your template (mark the holes wherever you want). Remove the template and clean out all drill holes (a puff of air through a straw works well). |

|
|
3) Fill the drill holes in the wall of the first letter with silicone. |
|
|
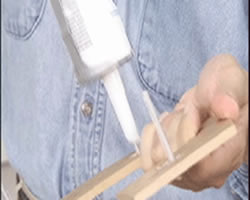
4) Push the tube of silicone over each stud on the first letter in order to evenly coat it with adhesive. |
|
|
5) Push the letter into the drill holes, flush mount or use a shim to assure the proper standoff of the letter from the wall and use masking tape to hold the letter onto the wall while the silicone dries. Repeat steps 3 through 5 for the rest of the letters. You can follow the same installation process for signs with wired spacers. |
|
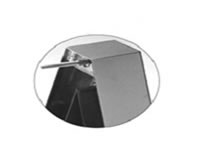
How to avoid common INSTALLATION problems
|
|
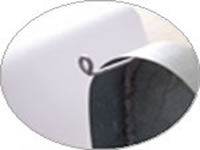
Wired Spacer mount
Steel removable back
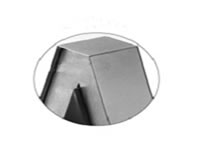
Stud mount